Contents:
- Understanding How to Diffuse Wavy Hair
- Why Traditional Blow-Drying Doesn’t Work for Waves
- Essential Tools for Diffusing Wavy Hair
- Heat and Speed Settings Matter
- The Seasonal Consideration for Wave Drying
- Step-by-Step: How to Diffuse Wavy Hair Correctly
- Step 1: Pre-Dry with a Microfiber Towel (5–10 minutes)
- Step 2: Apply Products (Optional but Recommended)
- Step 3: Section Your Hair
- Step 4: Position the Diffuser and Your Head
- Step 5: Cup and Scrunch Motion
- Step 6: Work Through All Sections
- Step 7: Finish with Cool Air
- Common Mistakes That Sabotage Your Results
- Using a Wet-to-Dry Approach
- Moving the Diffuser Too Fast
- Diffusing Hair That’s Too Wet on Top
- Using the Wrong Temperature
- Enhancing Your Waves: Product Combinations That Work
- Seasonal Adjustments and Year-Round Success
- Frequently Asked Questions
- How often should I diffuse my hair?
- Can I diffuse short wavy hair?
- Does diffusing damage wavy hair?
- What if my waves fall flat even after diffusing?
- Is a diffuser attachment necessary, or can I use just my hands?
- Moving Forward with Your Wave Routine
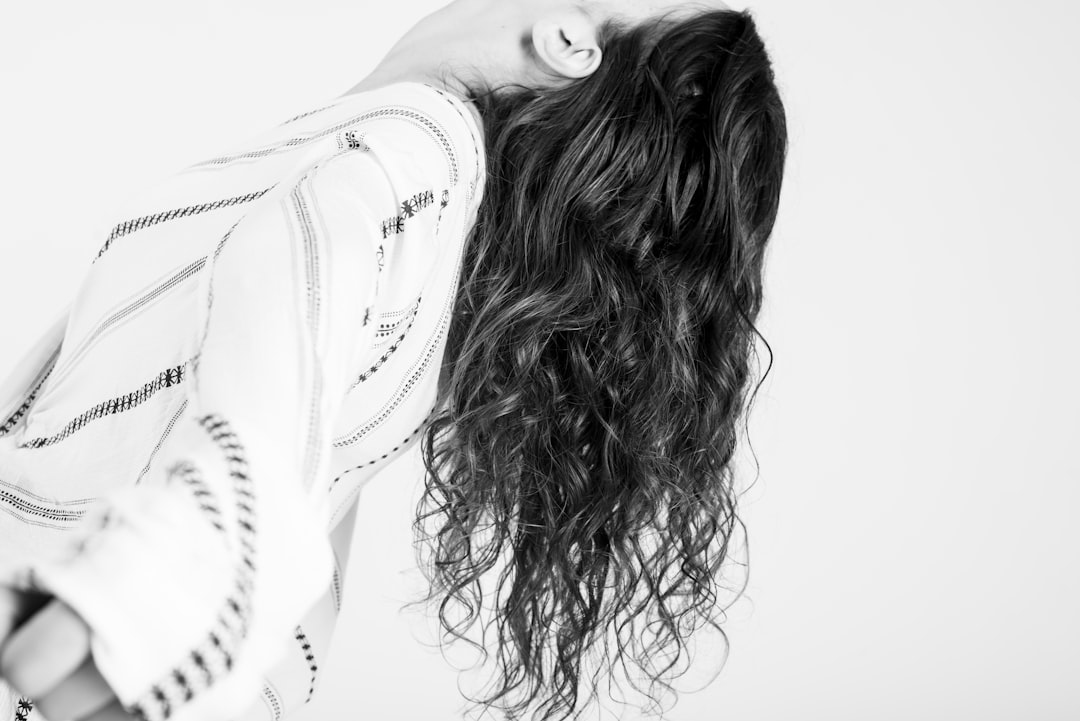
Most people with wavy hair dry it wrong, and that’s why they end up with frizz instead of definition. The difference between a shapeless, frizzy mess and gorgeous, bouncy waves often comes down to one thing: using the right diffusing technique. If your waves have been falling flat or turning into an uncontrollable frizz-fest, the answer might be simpler than you think.
Understanding How to Diffuse Wavy Hair
Diffusing is the process of breaking up concentrated heat and airflow from your hairdryer, spreading it across a wider area rather than directing it in a tight stream. For wavy hair specifically, this matters because direct heat tends to flatten and disrupt the natural wave pattern. A diffuser attachment on your hairdryer slows down the air velocity and distributes warmth more evenly, allowing your waves to form and set without getting blown apart.
The science is straightforward. Wavy hair has a pattern that’s disrupted by intense directional heat. When you use a diffuser, you’re supporting that natural pattern to develop rather than fighting against it. This is why people with waves and curls see dramatically better results with diffuser drying compared to standard nozzle drying.
Why Traditional Blow-Drying Doesn’t Work for Waves
Standard blow-drying—the kind you might use on straight hair—relies on concentrating heat and airflow to smooth the cuticle down. For wavy hair, this approach backfires. The concentrated heat disrupts your wave structure, and the directional airflow essentially combs out your natural pattern, leaving you with limp, frizzy strands instead of defined waves.
Many people confuse diffusing with regular blow-drying. They think it’s the same technique, just with a different attachment. It’s not. Diffusing requires a different hand motion, different positioning, and a different mindset. You’re not smoothing; you’re scrunching and supporting. You’re not directing; you’re distributing.
Essential Tools for Diffusing Wavy Hair
You don’t need an expensive hairdryer to diffuse effectively, but the right tool makes a measurable difference. Look for a diffuser that has wide prongs or ridges and creates a larger footprint on your head. Cheap diffusers sometimes have small heads that force you to work in tiny sections—this is frustrating and inefficient.
Recommended specs: A diffuser with at least 5-7 cm diameter and a hairdryer that offers heat and speed settings (ideally a motor rated 1800W or higher). Brands like Dyson, Revlon, and GHD offer reliable options in the £80–£250 range, though mid-range options around £40–£80 work perfectly well for most people. The attachment itself is often just £15–£30 if you already own a dryer.
Beyond the hairdryer, you’ll benefit from having a microfiber towel or cotton T-shirt for pre-drying. Paper towels and regular terry cloth towels create friction that triggers frizz and disrupts your wave pattern before you even start diffusing. A microfiber towel or old T-shirt gently removes excess water without creating that roughed-up cuticle layer.
Heat and Speed Settings Matter
Use medium heat, not high. High heat dries your hair too fast and can damage the protein structure that holds your wave pattern. Medium heat (around 60–70°C) dries quickly enough to be practical but slowly enough for your waves to set properly. If your dryer has a “low heat” option, that’s fine too—it just takes longer.
Speed setting should be on low or medium. High speed defeats the entire purpose of diffusing; you’re right back to blasting your waves apart.
The Seasonal Consideration for Wave Drying
Timing and season affect how your waves dry. In winter (November through February in the UK), your bathroom is typically cooler and less humid. This means your hair takes longer to dry but is less prone to frizz from moisture in the air. Spring and autumn (March–May and September–October) present moderate conditions. Summer (June–August) is the challenging season—high humidity makes frizz almost inevitable, and your waves may not hold definition as easily.
This isn’t just a comfort note; it changes your technique. In summer, you might need to apply a frizz-control product before diffusing and potentially use a heat protectant with anti-humidity properties. In winter, you might skip some products because the dry air is already working against you. Seasonal awareness helps you adjust your routine rather than assuming your technique is wrong when really the conditions have changed.
Step-by-Step: How to Diffuse Wavy Hair Correctly
Step 1: Pre-Dry with a Microfiber Towel (5–10 minutes)
After shampooing and conditioning, gently squeeze excess water out using a microfiber towel or T-shirt. Don’t rub; squeeze. Rubbing disrupts your wave pattern and creates frizz immediately. You want your hair about 60–70% dry before you pick up the hairdryer. This speeds up the diffusing process and reduces overall heat exposure.
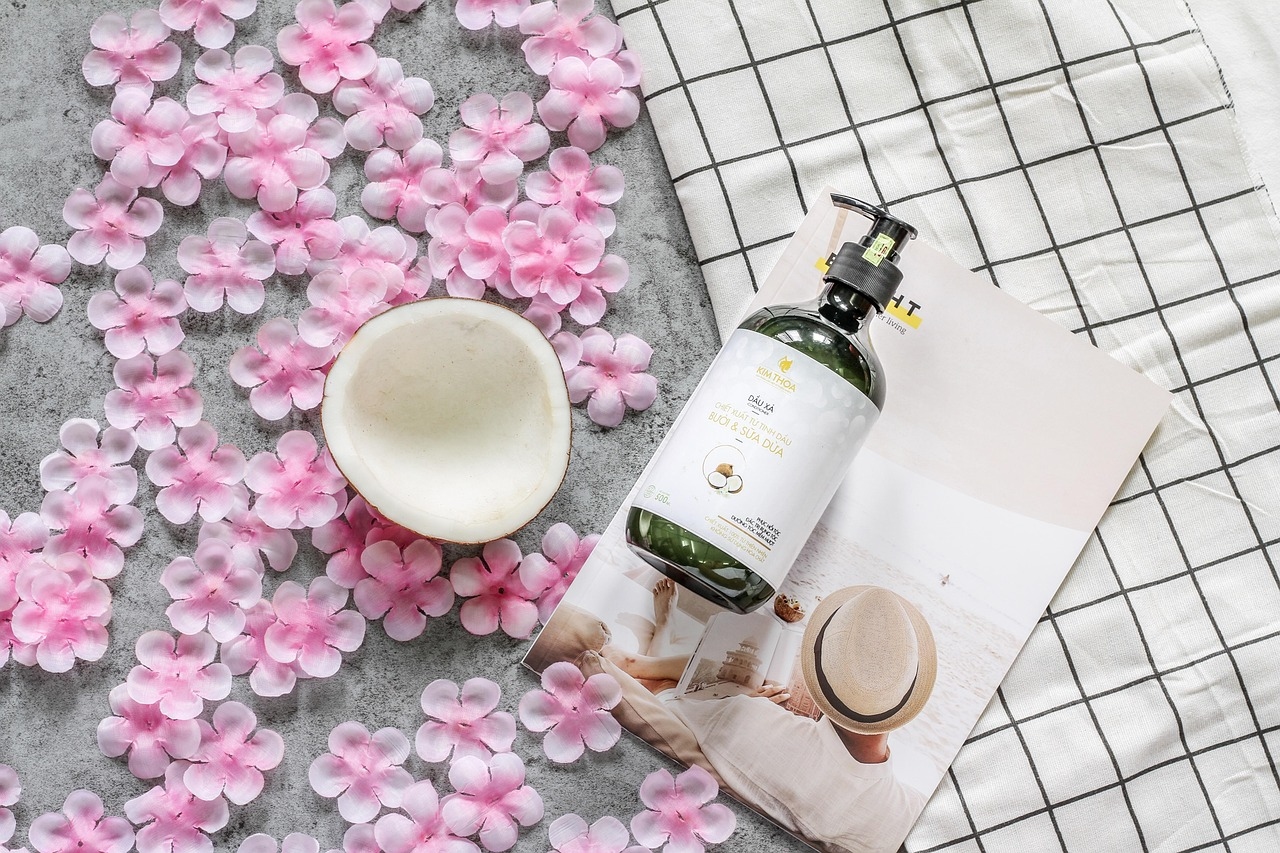
Step 2: Apply Products (Optional but Recommended)
If you use styling products—curl cream, mousse, or gel—apply them to damp hair before diffusing. Products need moisture to activate. A good styling product adds hold and definition to your waves, making the final result last longer. A light mousse (1p-coin size for medium-length hair) or cream (thumb-tip size) usually suffices. Avoid heavy silicone-based products; they coat the hair and prevent proper drying.
Step 3: Section Your Hair
Divide your hair into 4–6 sections using clips. Working in sections means you’re not fighting with wet, heavy hair, and it ensures every section gets proper attention rather than some bits drying while others stay damp. If you have very thick hair, use more sections.
Step 4: Position the Diffuser and Your Head
Tilt your head forward or to the side so the scalp is closer to the diffuser opening. This positions the airflow upward through your roots, which supports lift and volume. Avoid the temptation to hold the diffuser at arm’s length; it needs to be close enough that the prongs are touching your hair gently.
Step 5: Cup and Scrunch Motion
Place the diffuser against a section of hair. Using a gentle cupping or scrunching motion, slowly lift the diffuser upward in short pulses—hold for 3–5 seconds, release, move to the next spot. This motion supports your waves as they dry rather than flattening them. Think of it as gently gathering the hair up into the diffuser prongs, letting the warmth set that wave shape, then releasing.
Don’t swirl the diffuser around. Don’t move it side to side. Up and down, cup and release—that’s the motion that works.
Step 6: Work Through All Sections
Spend about 3–5 minutes per section, depending on thickness. Your hair should feel about 80% dry by the time you finish the main diffusing, then you can hover the diffuser over your hair without touching it to dry the remaining moisture and set everything in place.
Step 7: Finish with Cool Air
Once your hair is nearly dry, switch to cool air and do a final pass. Cool air seals the cuticle, locks in definition, and reduces frizz significantly. You don’t need more than 1–2 minutes of cool air—just enough to cool the hair back down.
Common Mistakes That Sabotage Your Results
Using a Wet-to-Dry Approach
Some people attempt to diffuse hair that’s dripping wet. This takes 30–40 minutes and exposes your hair to excessive heat. Pre-drying with a towel cuts this time in half and reduces damage.
Moving the Diffuser Too Fast
Rushing through diffusing defeats the purpose. Slow, intentional scrunching gives your waves time to form. Most people underestimate how long diffusing should take—it’s typically 15–25 minutes, depending on hair length and thickness.
Diffusing Hair That’s Too Wet on Top
If your roots are soaking wet while your ends are nearly dry, you’ll end up with frizz at the roots and definition at the ends. Aim for more even dampness by using the towel-squeeze method consistently.
Using the Wrong Temperature
High heat is tempting because it dries faster, but it damages your hair and actually creates more frizz long-term by damaging the cuticle. Stick with medium heat every time.
Enhancing Your Waves: Product Combinations That Work
The right products make diffusing more effective. Pair a lightweight mousse with a wave-defining cream for best results. Apply the mousse first (it adds volume), then the cream (it adds definition and hold). Together, they create a lightweight hold that lasts 24–48 hours without flaking or crunchiness.
For a reader story: Sarah, a 34-year-old from Manchester, spent three years diffusing with expensive products but saw minimal results. She switched to a £20 mousse from a high street brand and immediately noticed her waves lasted longer. The product mattered, but the real breakthrough came when she slowed her diffusing motion down—she was moving too fast and not giving her waves time to set. Once she committed to the 20-minute diffuse instead of 10 minutes, everything changed. Sometimes the simplest adjustment—patience—is the most powerful.
Seasonal Adjustments and Year-Round Success
In summer months (June–August), add a light frizz-control serum before applying styling mousse. This protects against humidity. In winter, skip the serum—you need the extra moisture. Spring and autumn don’t require adjustments; use your standard routine and adapt only if you notice issues.
By mid-2026, weather patterns remain similar to previous years, so seasonal timing remains reliable. Your routine in July will face the same humidity challenges it did last July; your routine in January will face similar dry conditions.
Frequently Asked Questions
How often should I diffuse my hair?
If you wash your hair 2–3 times weekly, diffuse after each wash. On non-wash days, you can use dry shampoo or dry styling products to refresh your waves without heat. Most people with waves find that diffusing on wash days and refreshing on other days works best.
Can I diffuse short wavy hair?
Yes. Short wavy hair actually benefits from diffusing because it dries quickly (10–15 minutes) and the technique is simpler. Ensure your diffuser isn’t too large relative to your hair length; a smaller diffuser works better for pixie or short bob styles.
Does diffusing damage wavy hair?
No, if done properly. Diffusing with medium heat is gentler than flat-ironing or regular blow-drying. The reduced heat and gentler airflow mean less damage overall. Heat damage comes from high heat combined with harsh techniques—not from diffusing itself.
What if my waves fall flat even after diffusing?
This usually means one of three things: you need a stronger hold product, you’re not diffusing long enough, or your products contain heavy silicones. Try a styling gel instead of cream for 2–3 washes and see if hold improves. If that doesn’t work, extend your diffusing time by 5 minutes per section.
Is a diffuser attachment necessary, or can I use just my hands?
A diffuser attachment is significantly more effective because it distributes heat and air more evenly. You could theoretically cup your hands around the dryer nozzle, but a proper diffuser is faster and requires less effort. For the price (£15–£30), it’s worth the investment.
Moving Forward with Your Wave Routine
Mastering how to diffuse wavy hair gives you back control over your appearance. Instead of fighting your natural texture, you’re working with it. Your waves become a feature, not a frustration. The technique takes practice—your first few attempts might not be perfect, and that’s normal. By the third or fourth time, your hands remember the motion, and the whole process becomes automatic. Give yourself at least five washes to refine the technique before deciding it doesn’t work for you.
Start this week: invest in a decent diffuser if you don’t have one, grab a microfiber towel, and commit to the full 20-minute diffuse on your next wash day. Notice how long your waves last, how much definition you get, and how much less frizz appears. Then adjust from there. Small tweaks—adding a product, extending the time by 5 minutes, switching to slightly cooler heat—compound into dramatically better results over time.